How to configure IOU in GNS3
We are aware that GNS3 is the best platform to get the simulated environment for routing practice. But when we are trying for switching, it not looks easy. Because adding L2 & L3 switches in GNS3 is not easy like adding routers.
No problem ….. We are having complete solution with detailed steps and file download links.
Please follow the below steps:
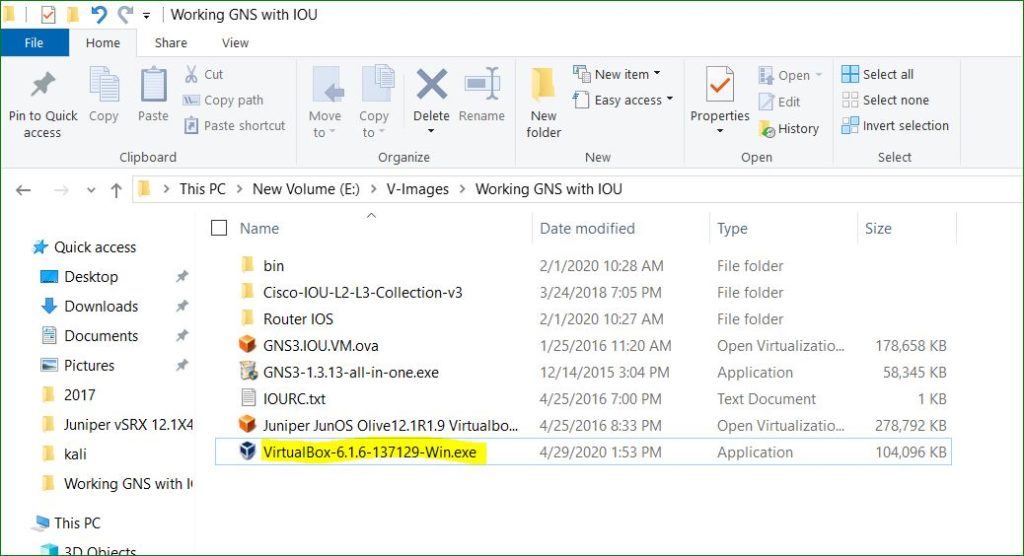
Download the files ( GNS3 , Virtual Box , IOU VM , IOU & IOL , IOS ) from below link:
1. Download all the images and setup files in a folder from above link.
NOTE: Make sure you are using all above files as with same version. If you will update the version then it can cause a issue.
3. Install the GNS3 as the same version.
NOTE: If you are using heigher version then it can create a issue and can break the syncronisation between GNS3 and IOU. in this case you can use the network type NAT in IOU. you will see it later
4. Install the Oracle Virtual Machine
5. Install the IOU on virtual machine
6. Login in IOU and get the IP address to access the portal
6. Open the browser and upload the IOS & licence files on portal
7. Link the GNS3 with virtual box and IOU
8. Add the IOU images in GNS3
9. Start the IOU device
How to configure IOU in GNS3
Practical and detailed steps:
Download all the files and collect in a sigle folder so you can manage the things easily.
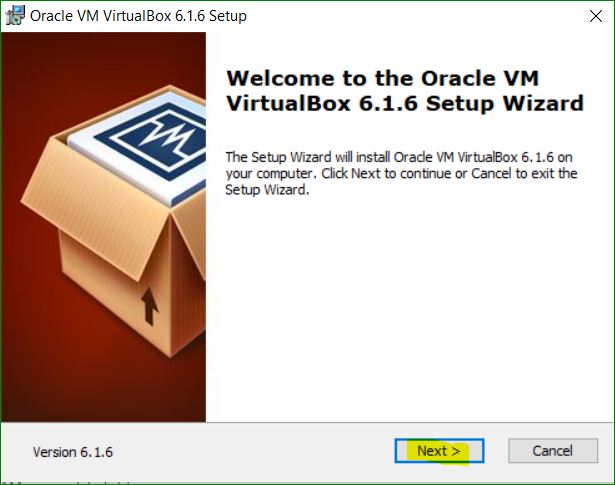
First , do the double click on oracle virtual machine setup file to install
Do click on Next button
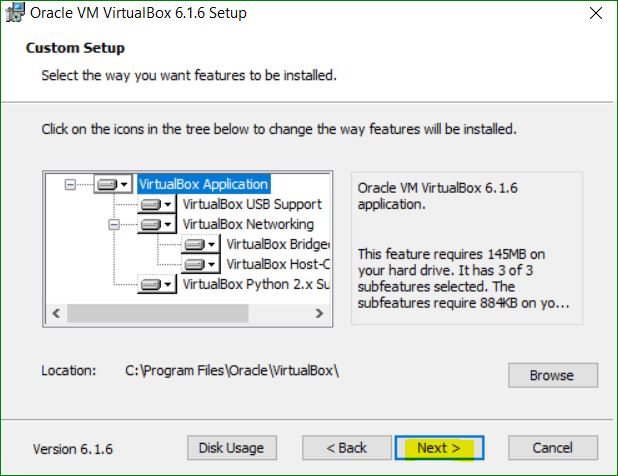
Click on Next button
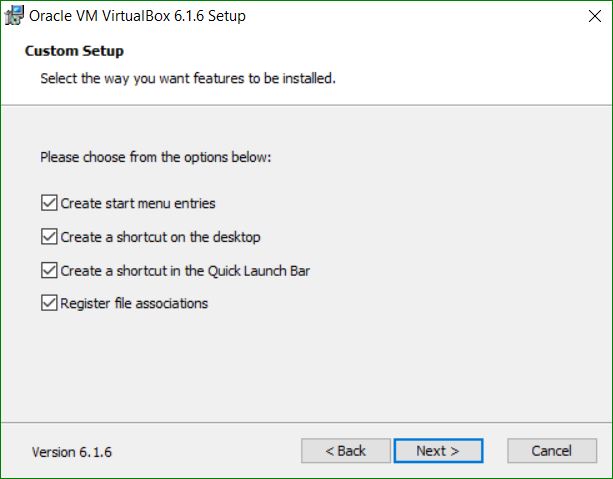
Do click on Next button
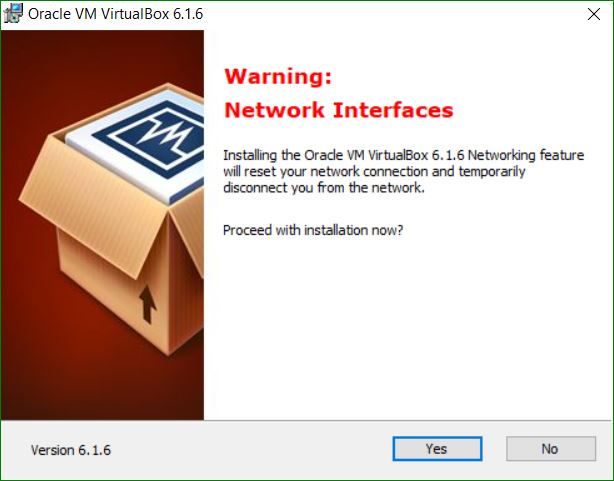
Click on Yes button
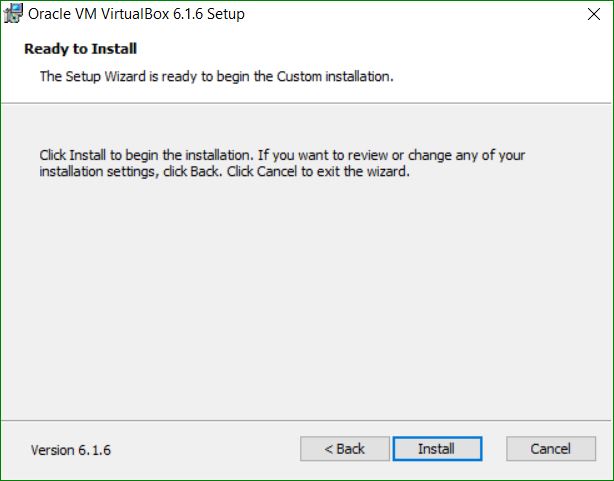
Do click on Install button
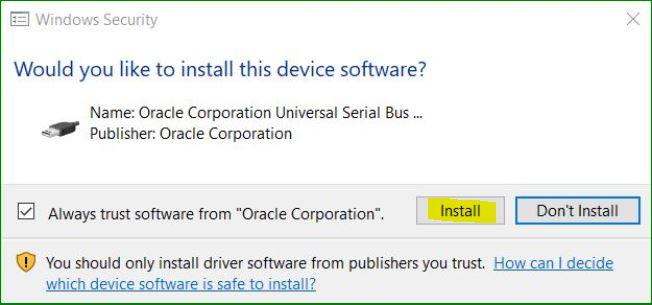
Click on Install button
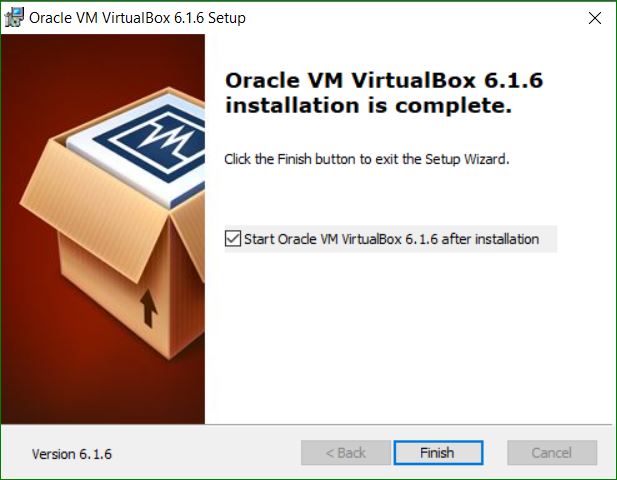
Click on Finish button
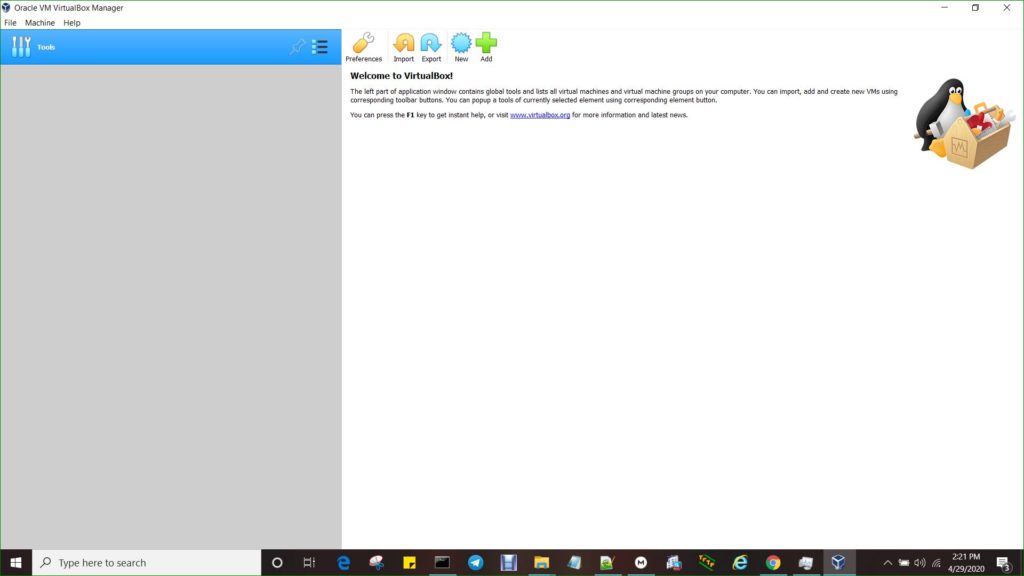
Double click on Oracle Virtual Machine icon
Virtual Box will look like below after open
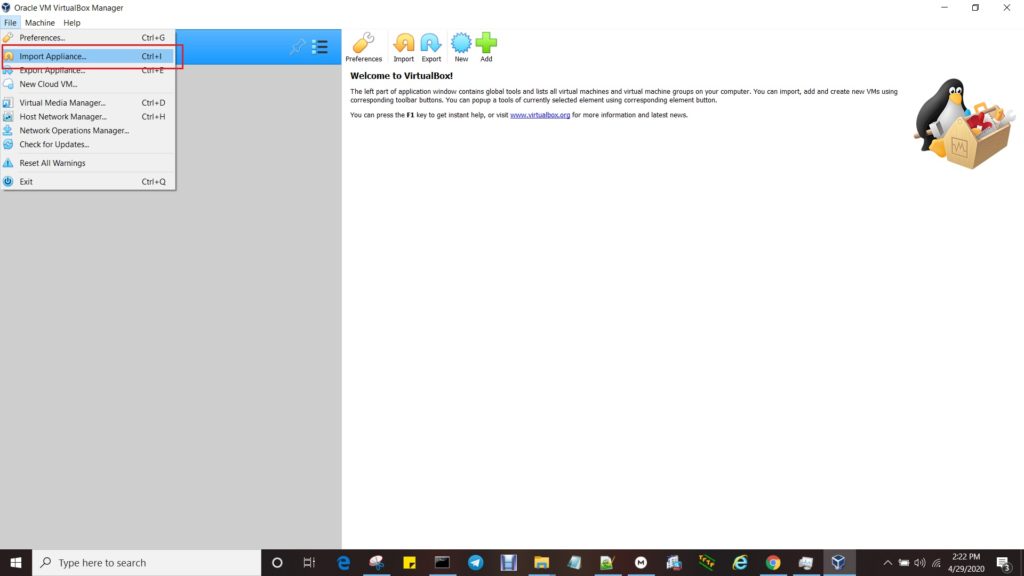
Click on File menu and then click on Import appliance
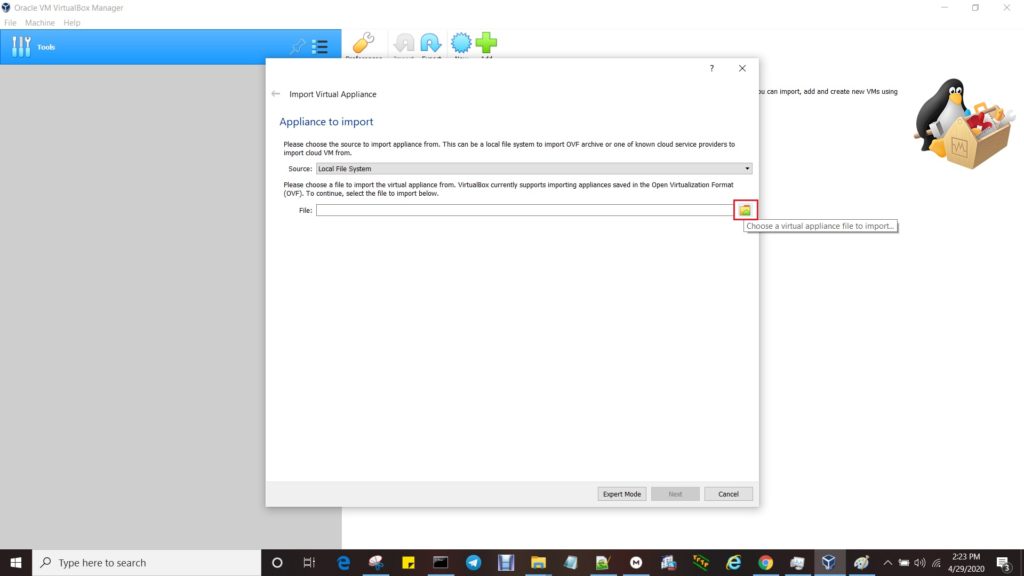
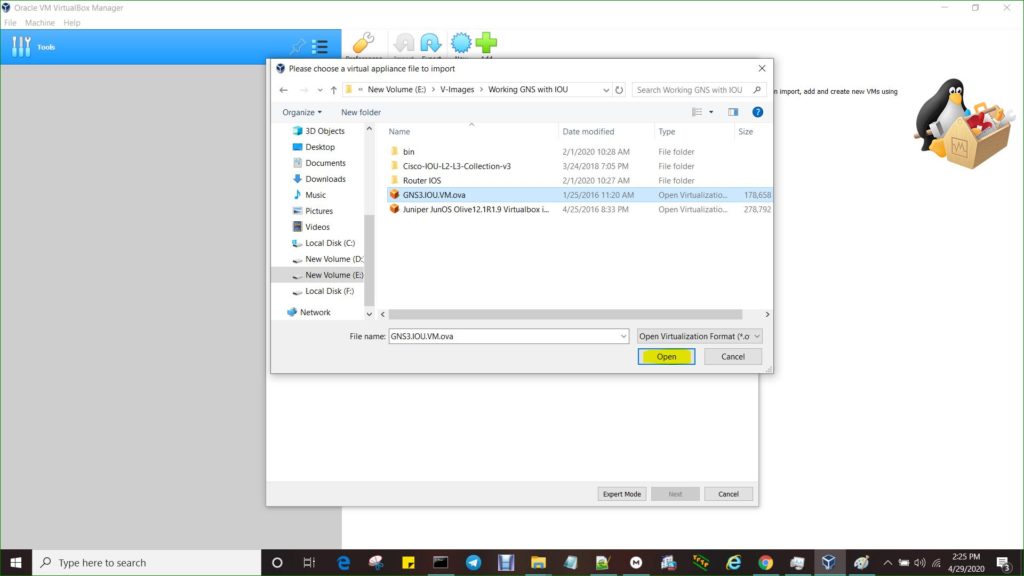
Click on browse icon
Select the IOU file and click on Open button
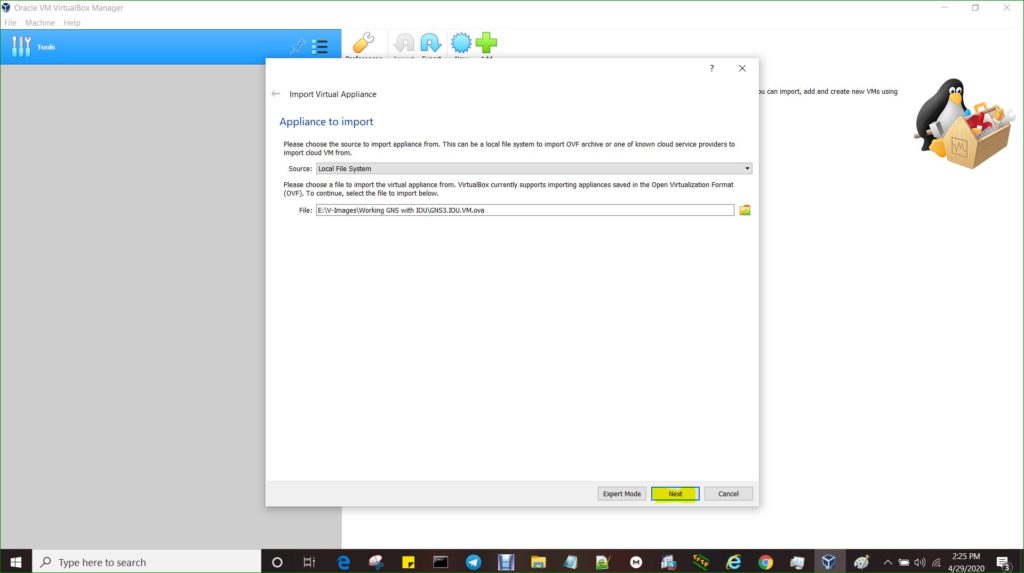
Click on Next button
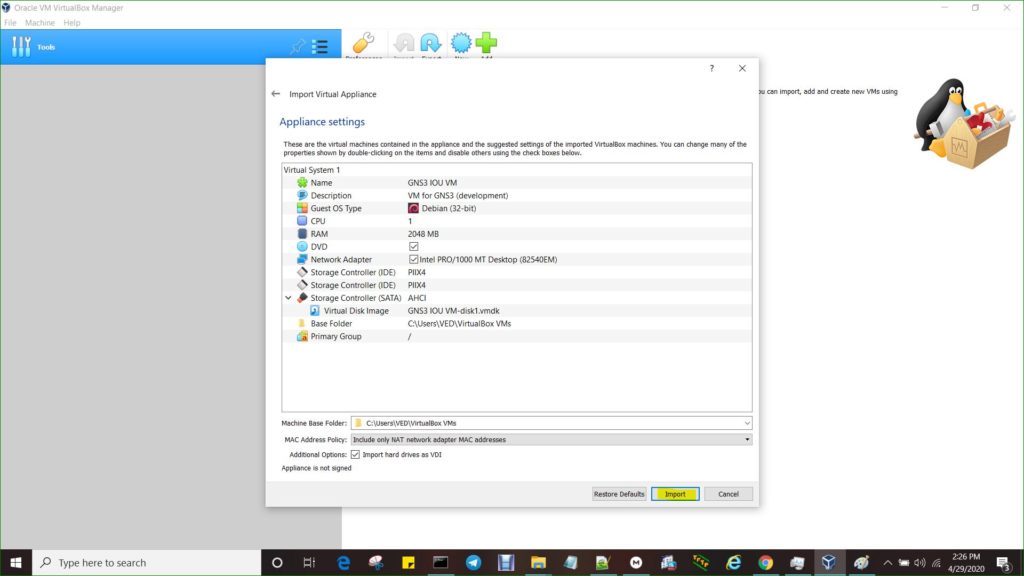
Click on Import button
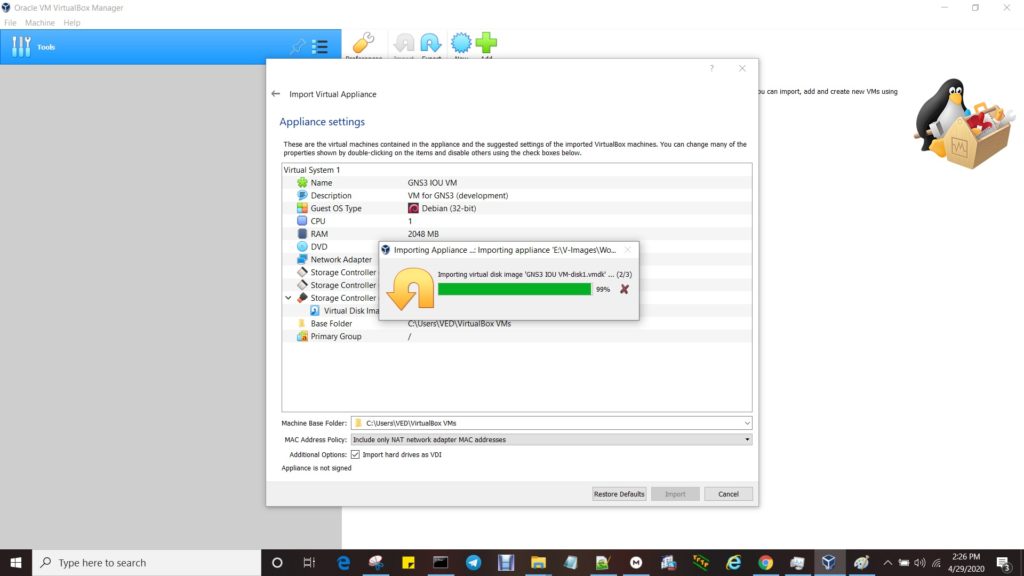
It below show you progress like below
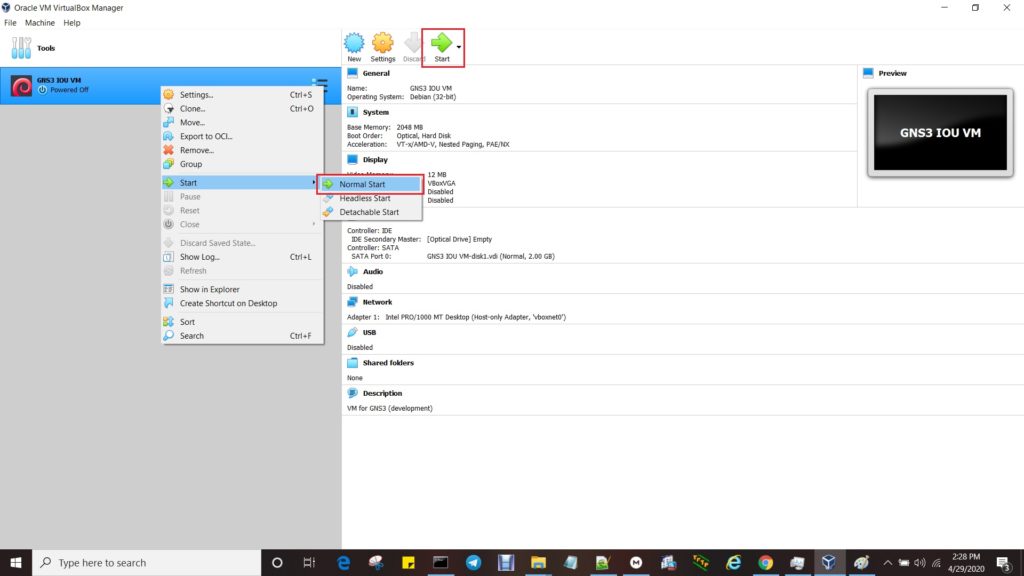
Do right click on IOU and then click on Start, once it imported
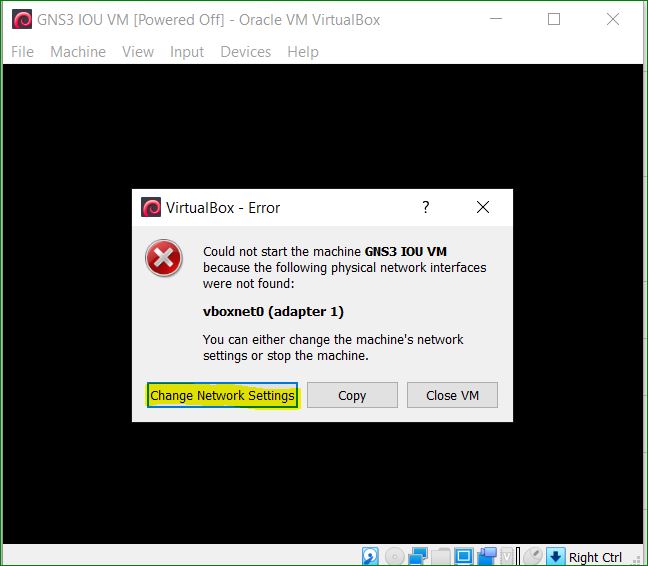
Click on Change Network Settings button (If you are getting below error)
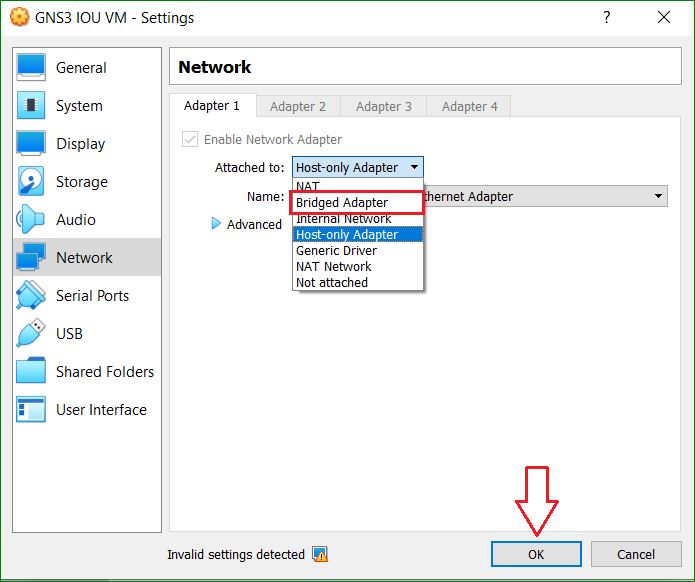
Go to Network and selcect the Bridged Adapter and then click on OK button. (Some heigher GNS3 version requires the NAT)
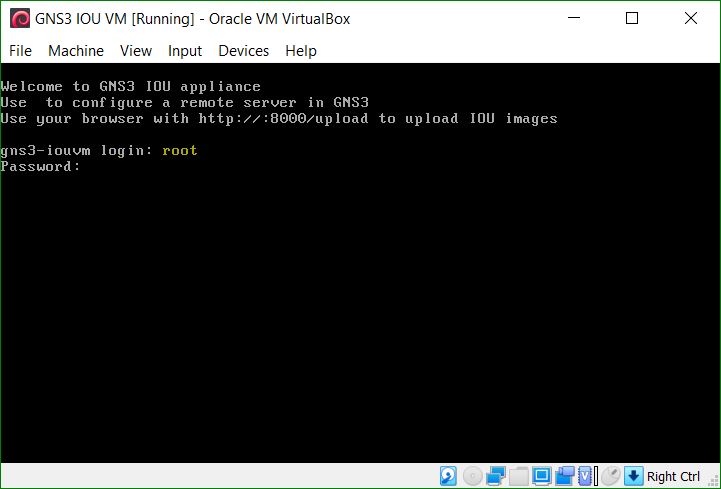
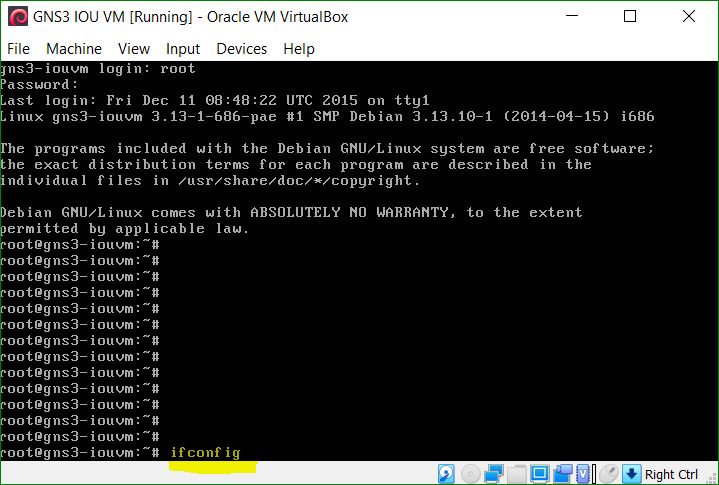
Do the login in IOU , once it booted. Please use the below IOU credentials:
Username: root
Password: cisco
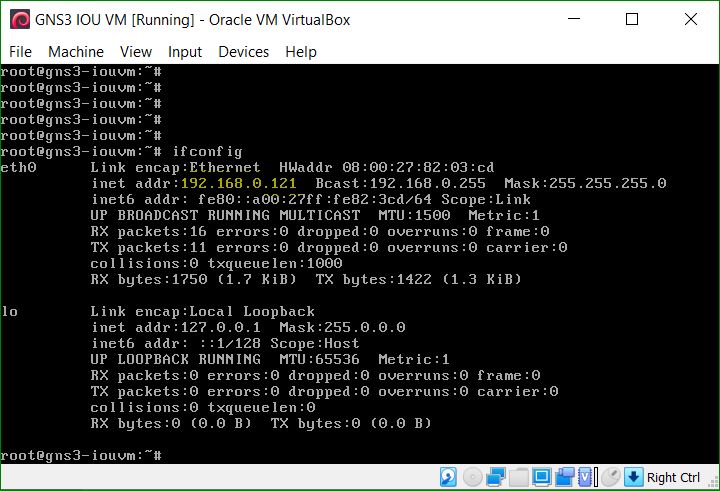
Run the ifconfig command to see the ip address (don”t use ipconfig command that can run on windows. IOU is an UNIX platform so it will support only unix/linux commands
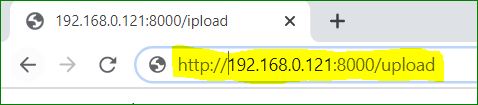
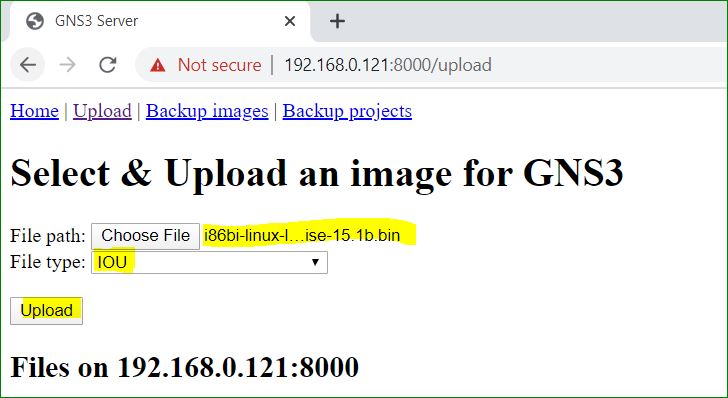
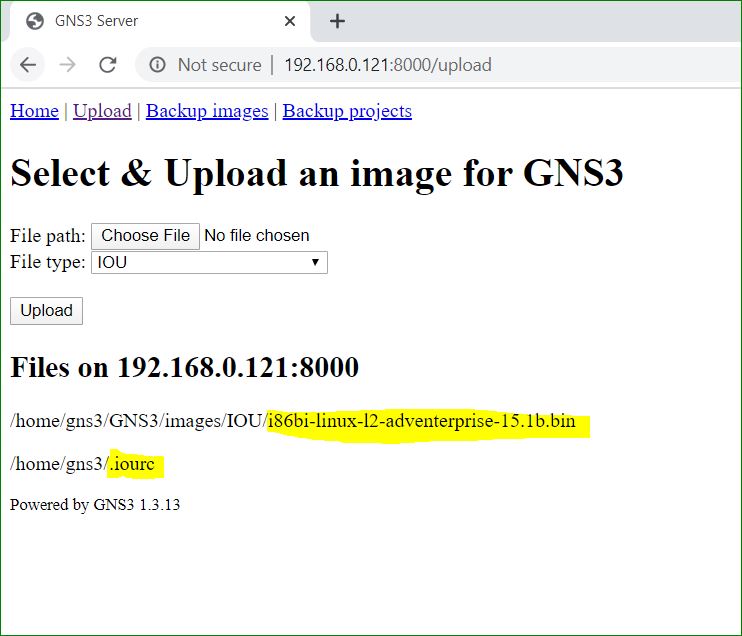
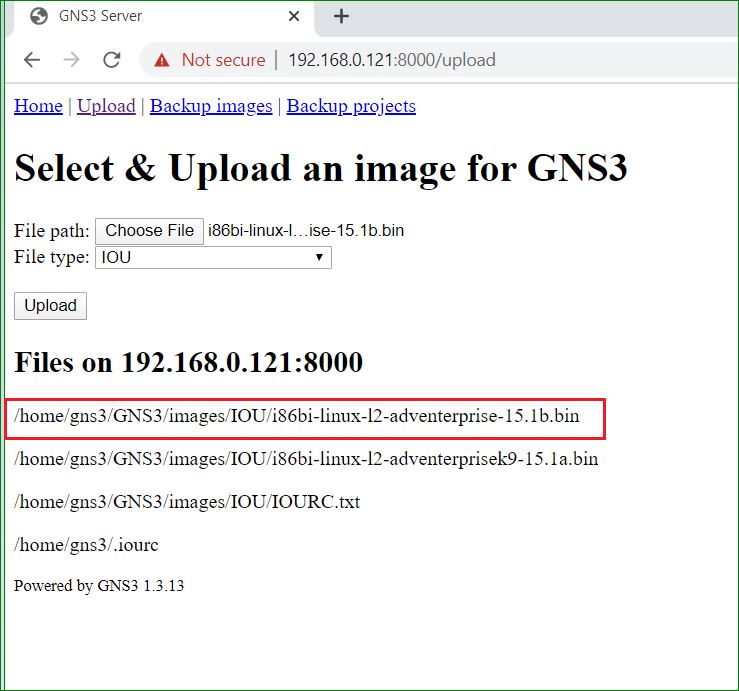
Copy the IP address and use it like an URL. In our case IOU IP address is 192.168.0.121. So URL will be http://192.168.0.121:8000/upload
See below example of URL
Click on Choose button and select the file type as IOU.
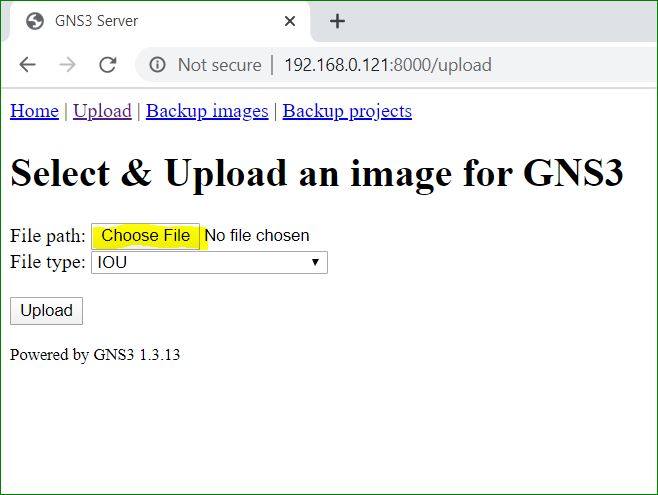
Select the IOS file from downloaded IOS images and then Click on OK button.
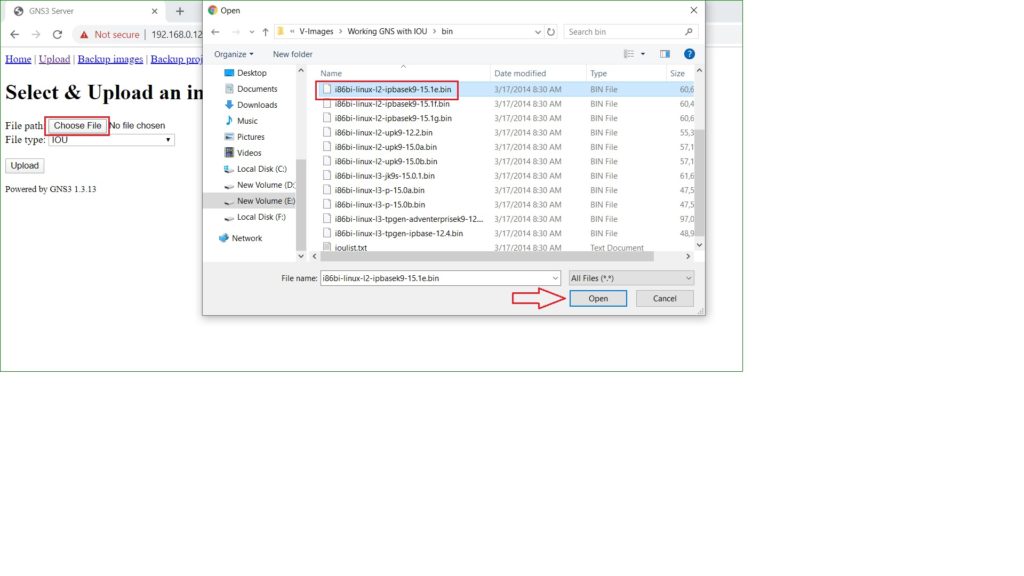
Click on Upload button , once the file selected. This process will be repeat for each IOS file.
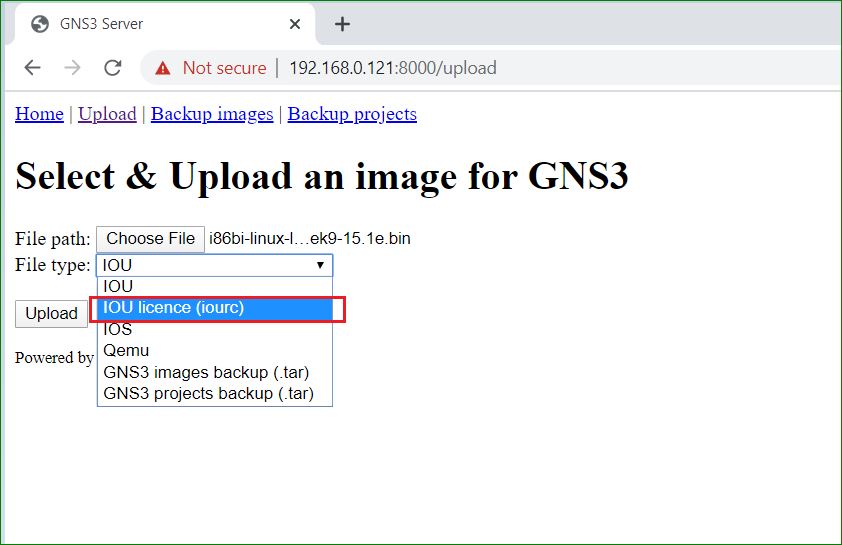
Select the IOU licence in file type and click on Choose button
Select the IOURC.txt file and click on Open button
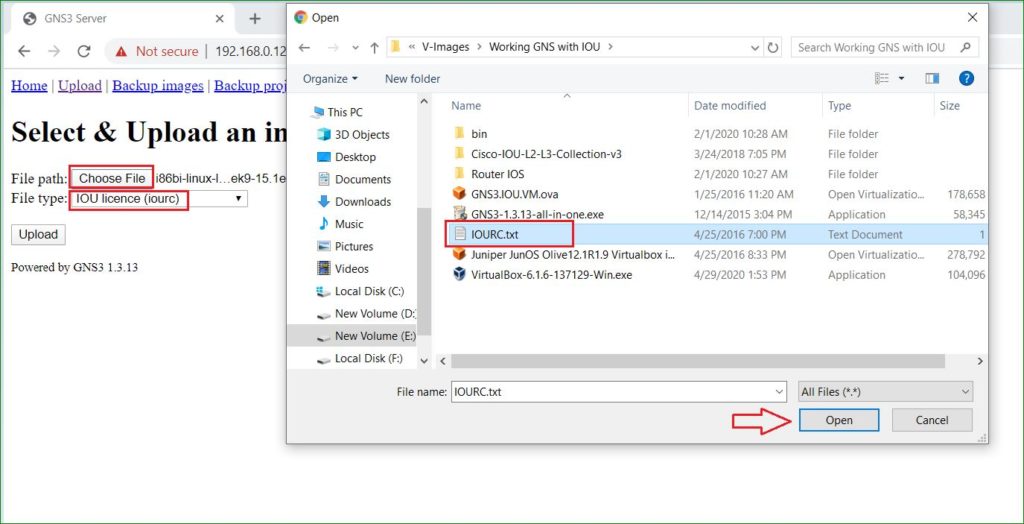
Click on Upload button once file is selected
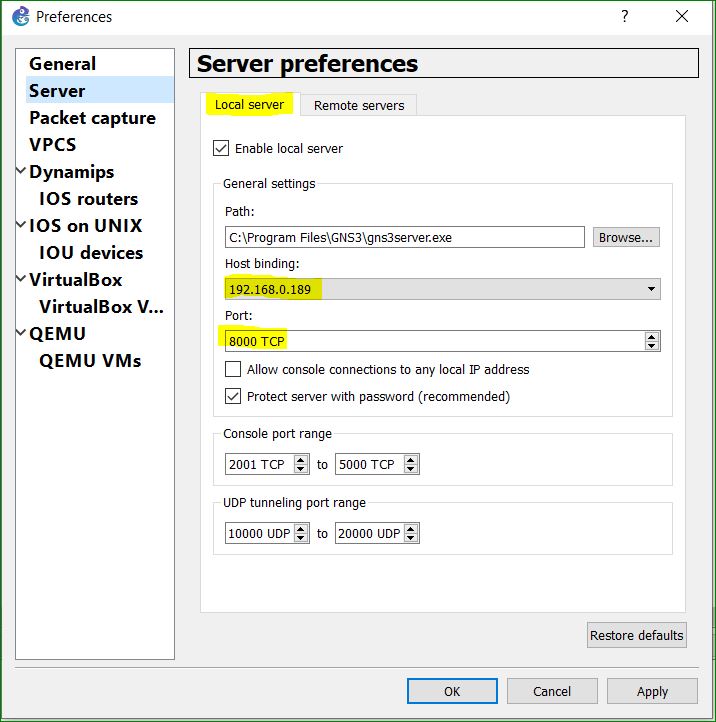
Open the GNS3 and go to Edit menu and click on Preference

Go to Server —> Local Server —->Select IP address—-> fill port number as 8000
NOTE: Be remeber that IP address should be same in range as IOU IP address. Means, first three octet should be same. In our case, IOU IP address is 192.168.0.121. so we can select any IP address in range 192.168.0.X
Then click on Apply and OK button
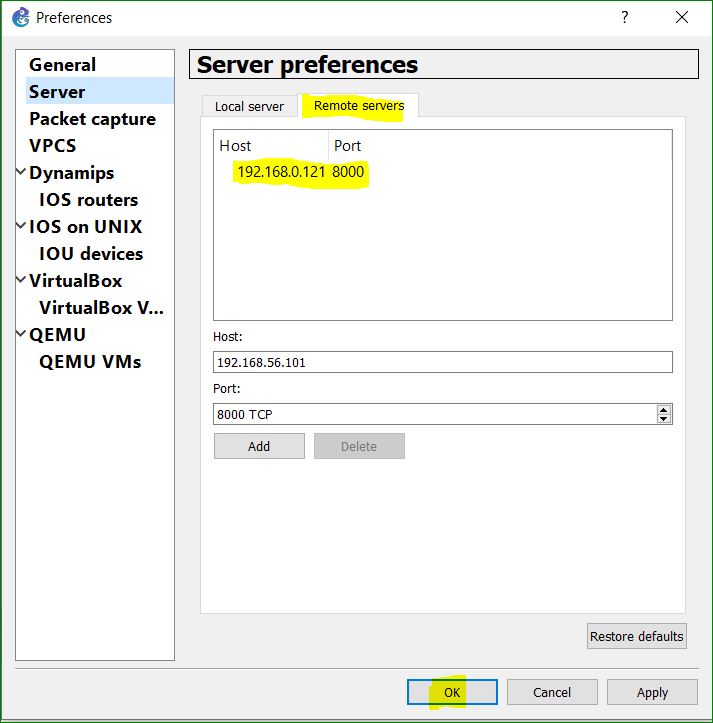
Go to Edit menu —-> Preference —-> Server —> Remote Server —->Fill the IP address of IOU —-> fill port number as 8000 —–> Click on Add button
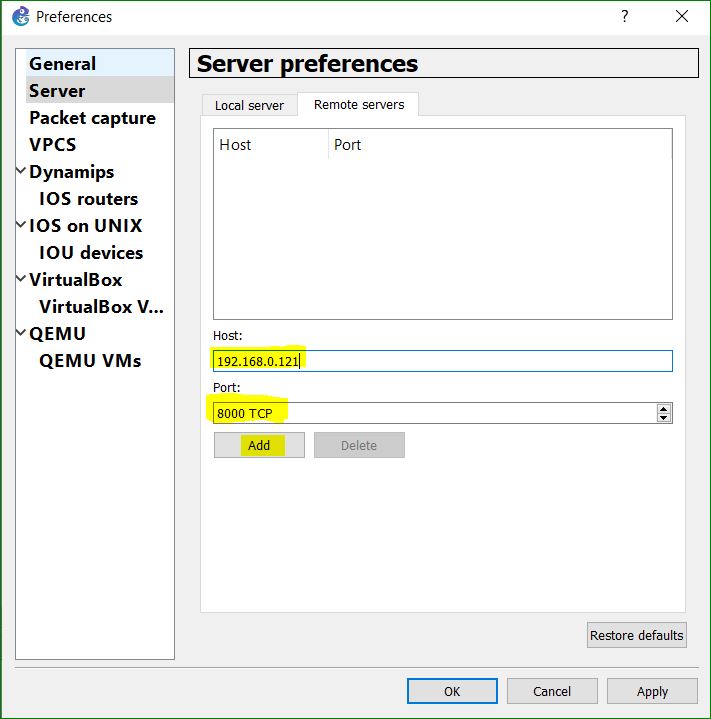
Click on Apply and OK button , once IP address and port number added
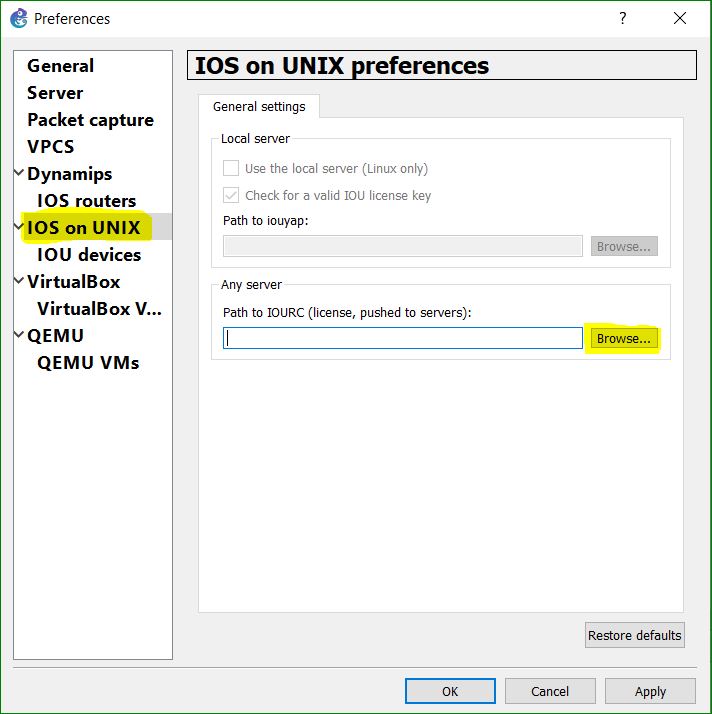
Go to Edit menu —-> Preference —-> IOS on UNIX—> Click on Browse
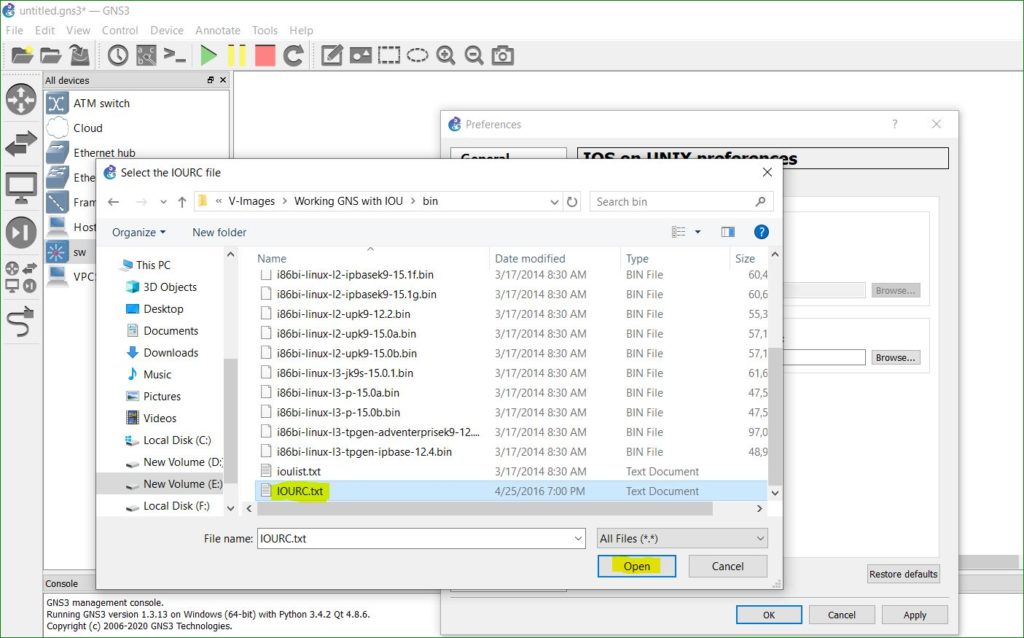
Select the IOURC.txt file and click on Open button
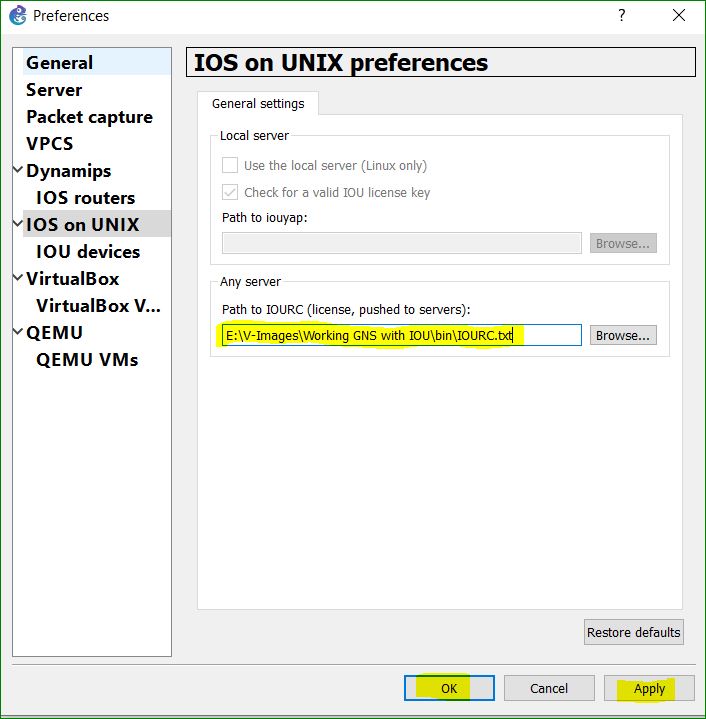
Click on Apply and OK button
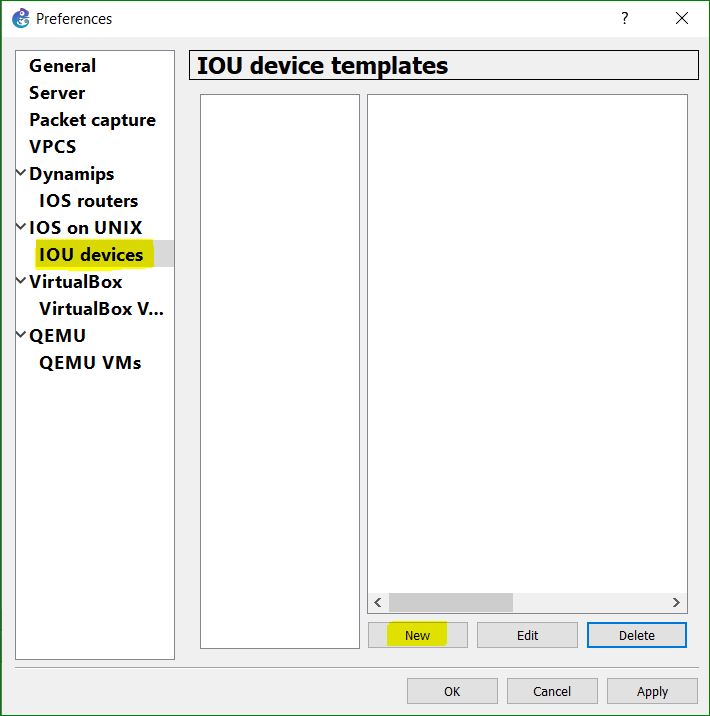
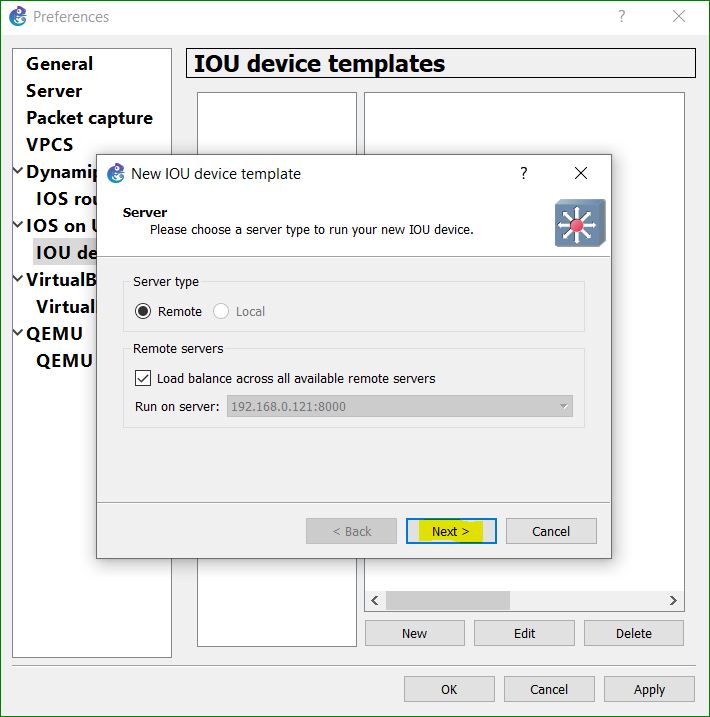
Go to Edit menu —-> Preference —->IOS Devices under IOS on UNIX—> Click on New button
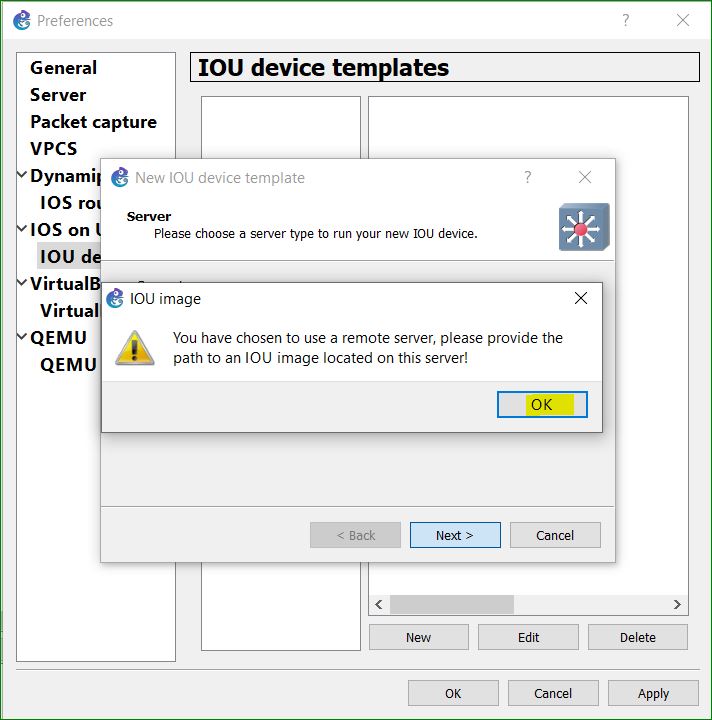
Click on Next button
Click on OK button
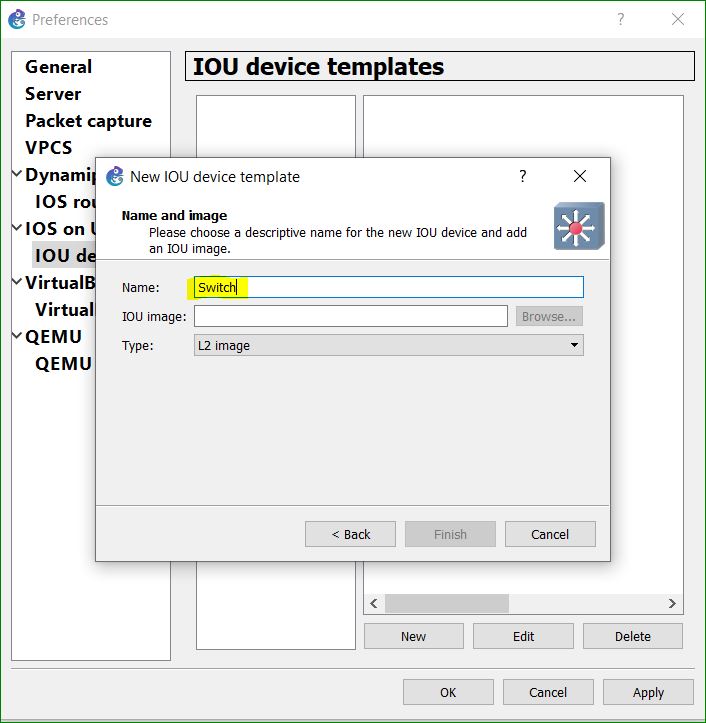
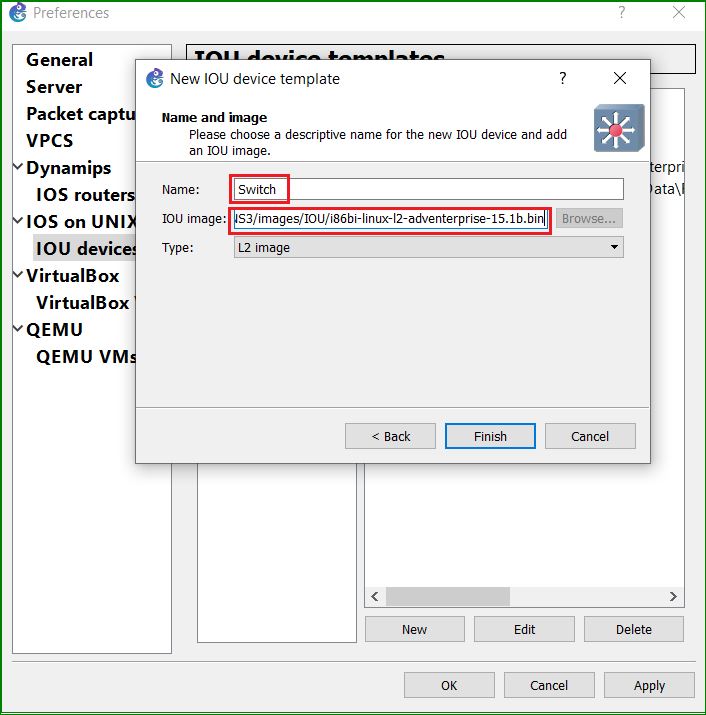
Enter a name for device as per your choice. To fill the IOU image section , go to the browser
Copy the IOS file path
Paste the IOS file path into IOU image section and click on Finish button
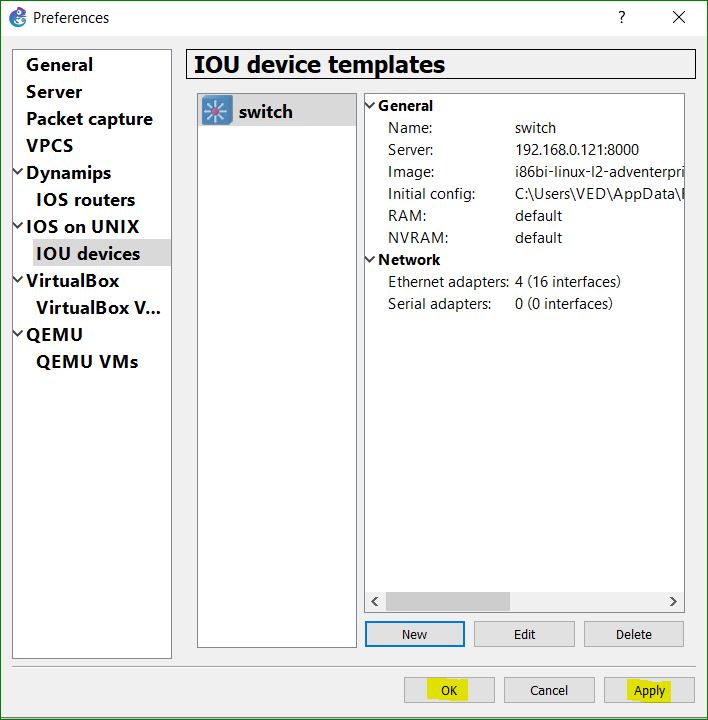
Click on Apply and OK button
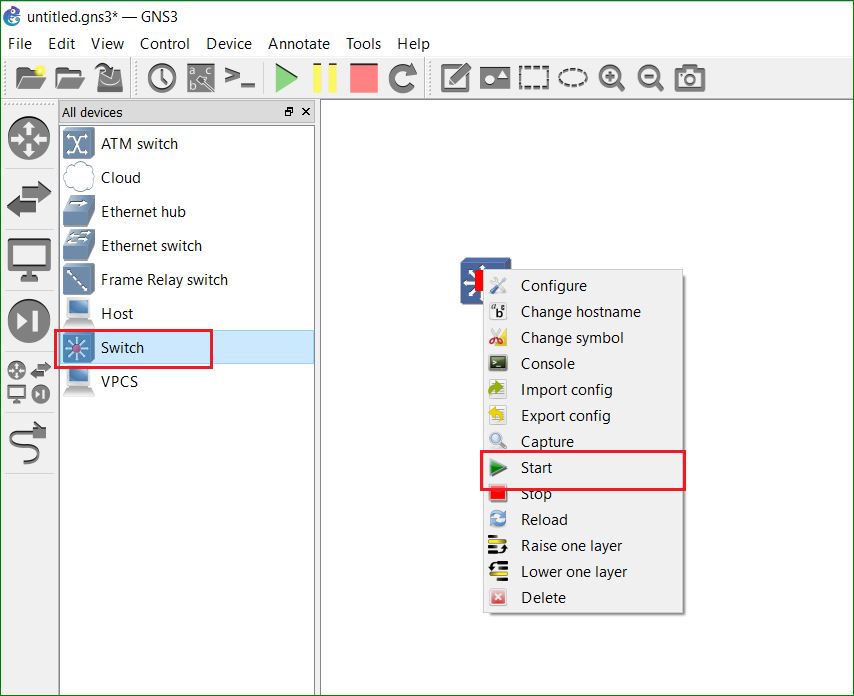
Go to device Section then drag and drop the device. right click on device and select the Start
Double click on device icon to open the device CLI ( Command Line Interface)

You will see the below screen that means device is booting. you can configure the device once it is booted.

Thanks For Reading …………………………..
How to configure IOU in GNS3
You should also read the below blogs: